<PREVIOUS>       <HOME>          <NEXT>

The proportions are slightly off on this one
Do I did a quick sketch of the throwing sticks on Autodesk Inventor so I could have a quick visualisation of what I was aiming for.
Materials for making tools
All the materials I used in the series, for the throwing sticks I used the oak and pine strips on lower right hand corner, they are more durable than the plywood.  The oak has a lot of extra material left over from another project, so will have to remove the excess later.  These are objects that are going to be in and out of water, I chose pine as it is cheap and replaceable and white oak scraps as it is more durable in pottery conditions.
Nout like accuracy
First I line the tri-square with the bottom edge and draw a line parallel to the long straight edge and draw on the final width I want.
45 degrees not too acute
lining up the edge of the tri-square that helps put a 45 degrees with the long edge of the oak and mark off. With the Pine I only had to place the 45 degree mark.
Seriously why are you adding in an image like this its redundant
Here it is all marked up.
this looks awkward.
If you have a shooting board that is all you need to secure it while sawing off the 45 degree angle.
This sawing takes time
If you don’t have a shooting board, don’t worry you can hold the piece against a table but it isn’t as secure.
zoom out man
As the oak is straight grained we can remove the excess width with a chisel and it will follow the grain all the way along from top to bottom.
smooth and straight
Using a file to draw straight lines along the grain I am going to clean up the rough patches.
it works away relatively quickly
This time moving from the top corner we are moving the file downwards and to the right to put a 45 degree bevel on the end. This is done the top and bottom of the oak and both sides of the pointed end in the pine.
Sand all the day long
Sand all the freshly filed surfaces with 240 grit sandpaper.
they look all alone
And here are the finished throwing sticks, but they are too clean, lets use them for something.
make sure you have the right angle
these are great for throwing against to make the outside of a cup
its like a wooden knife.
good for cutting underneath the pot to give the foot a nice angle.
what ruining those straight lines?!
or even making gestural narks into the wet clay

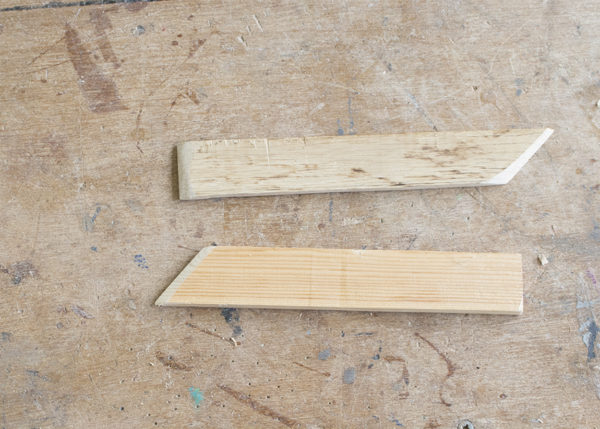
What would can you do differently?

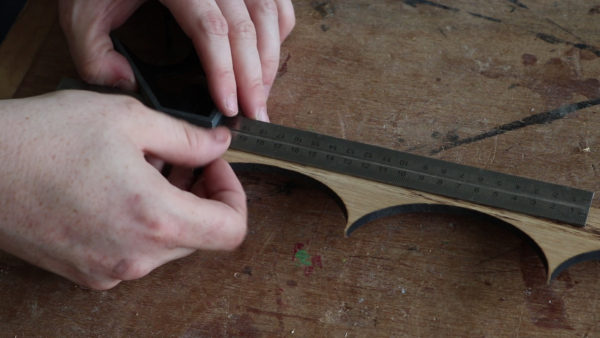
  • alter the angle of the point to change that interaction at the foot.
  • varying the with or having an obtuse angle on the bottom
    • this could give you the correct angle for your cup’s walls
    • and give a different mark
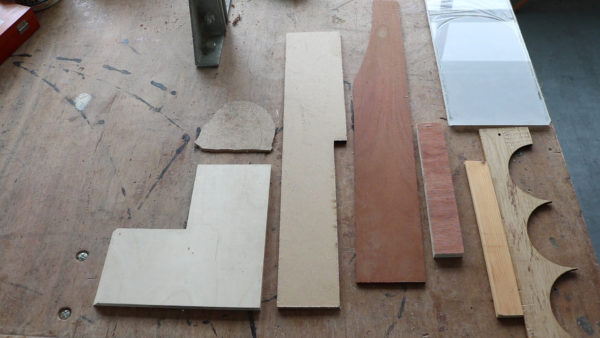
  • use a hardwood that is more resistant to water damage and rot
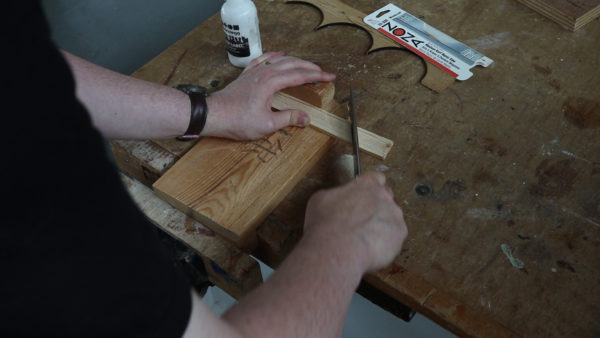
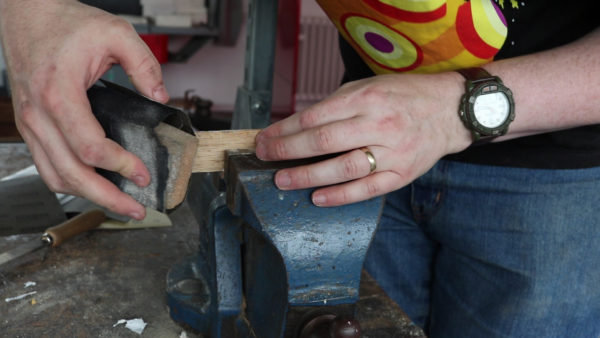
  • put a bevel on the sides so when squaring the pot up against it, it is more sharp and gives cleaner lines

If you make a throwing stick, share them on social media @redfoxpottery and I will add them to the bottom of the post.

 <PREVIOUS>       <HOME>          <NEXT>