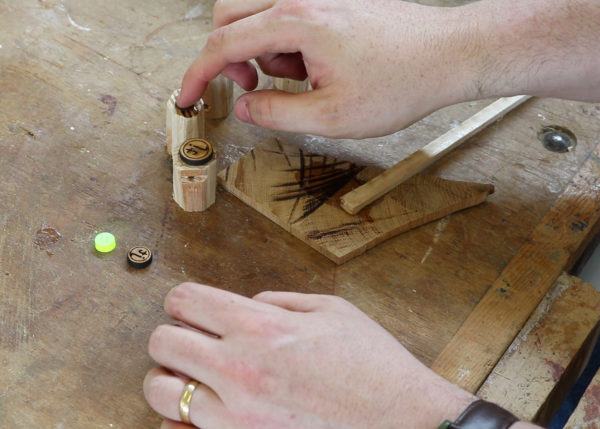
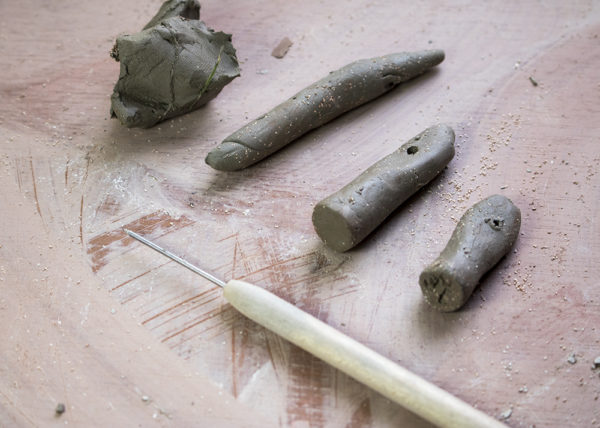
<PREVIOUS>       <HOME>          <NEXT>

I spend many an hour watching this laser cutter
Once the laser cutter is set up with a jpg to etch and lines to cut it works quickly by itself
so easy to lose such small pieces
It is such a neat cut I couldn’t match it by hand and it is all ready to be glued onto a mount.
just quick rough cuts a handswa would work too.
Then cutting a a section off a a scrap piece of wood to mount the stamp to.
got to think about ergonomics
I just sanded the corners off to make it more comfortable to hold, it also helps me remember which way is up from touch.
other brands of epoxy are available
I used 5 minute epoxy as I am glueing both wood and perspex, it also means it will be ready to use the same day. Mix it until the glue starts to turn opaque white.
plenty of glue
Spread glue on the mounts.
you don't want these to come off.
Press the stamps down into the clay.
not much to it
1. Take a lump of clay
2. Roll a coil
3. cut the end off and tap it down
4. once it is cheese half carve the mirror image of your mark.
5. clean it once it is dried
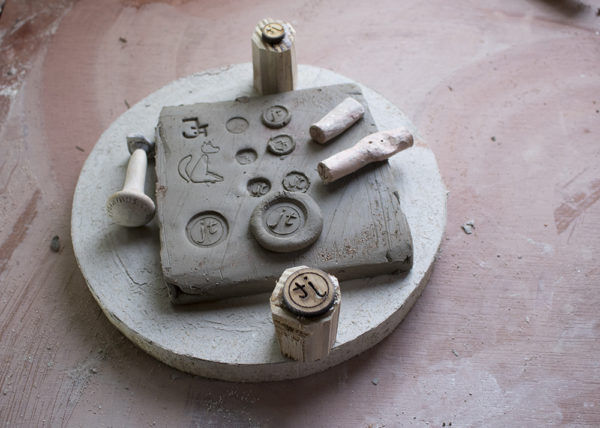
6. bisque fire with the rest of your work
one of every sort
Here is an example of all the different stamps I have in the workshop, the fox and the older JT mark in the top left were custom tools from another company.

What would can you do differently?

  • use your own logo
  • You can use any pattern with this
  • you could inverse the mark so my jt would impress into the clay rather than the negative space around it.
  • Try different materials see which is less likely to get “gummed up”

If you make a stamp, share them on social media @redfoxpottery and I will add them to the bottom of the post.

 <PREVIOUS>       <HOME>          <NEXT>