So lets have a look in a bit more detail at how these are made:
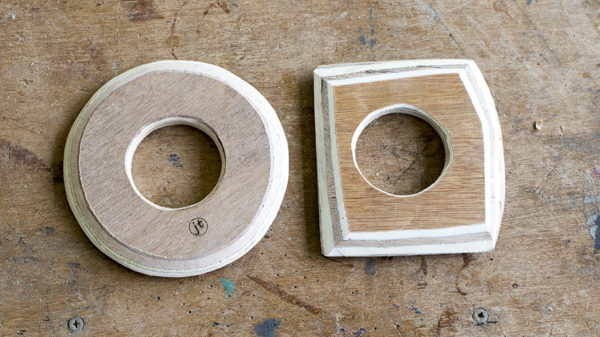
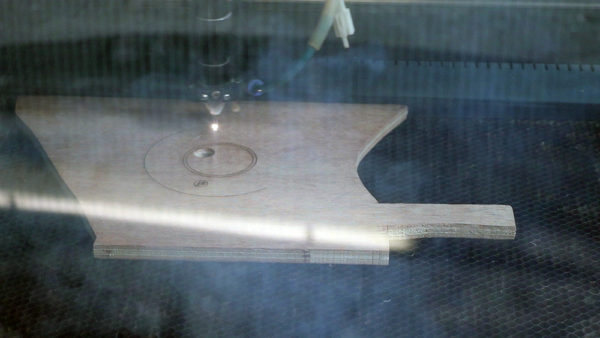
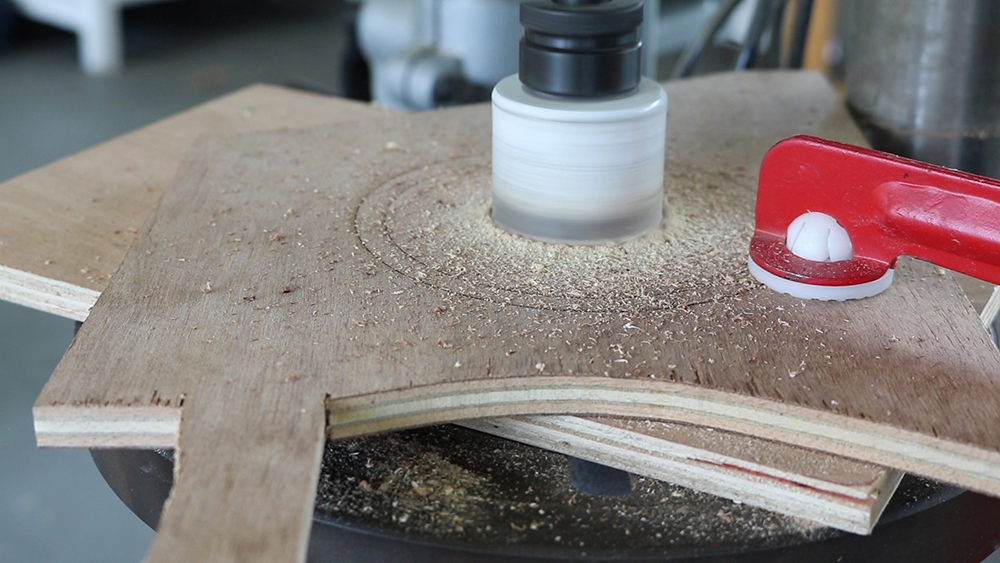
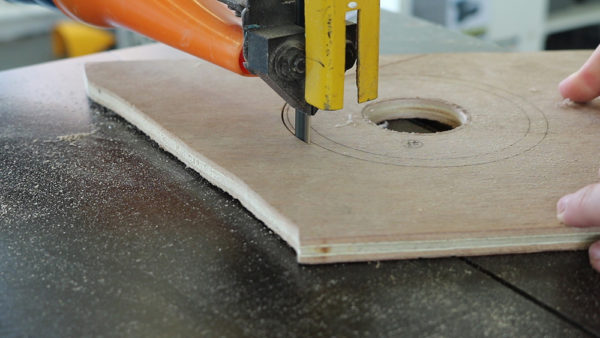
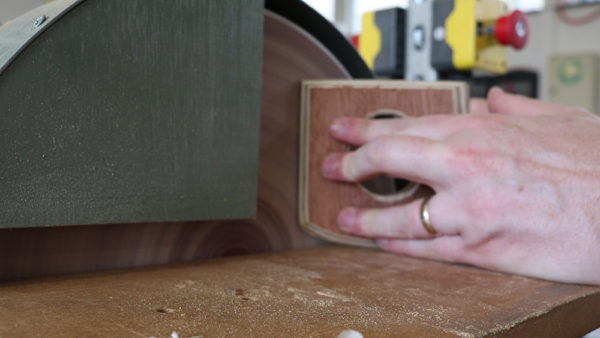
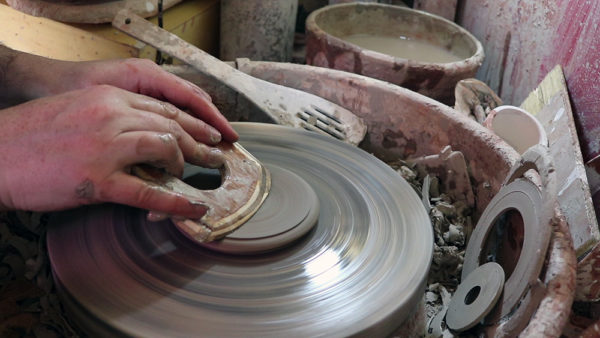
The two ribs I made in this video, they are just prototypes so I made them out of plywood as they are scraps that get sent to landfill.I printed out the stencil from my CAD drawings. I designed both of these ribs on Autodesk inventor as that is the software we use at the school I work at. They are just stuck down with double sides tape, although some spray mount would work just as well.The laser cuter makes quick work of marking out my pattern it takes less time to cut this out than it does for me to peel the double sided tape.The pillar drill quickly removes the circle to make it easer for me to hold. One of the problems I have with commercial ribs is gripping onto the rib itself, a hole this size reduces those issues.The bandsaw is one of my favourite tools of a Design Technology workshop, they cut so much faster than I do by hand. It is so fast to remove the excess materials, I tend to leave 1-2 millimetres so I can sand down to the line.This sandinging is quick and just sands down to the line on the pattern.Though I remove the sharp edges of the interior with this bobbin sander it would be much easier to use a half round file and it would produce a better surface.Sanding a 45 degree angle onto both faces on all edges to help create more of a cutting surface.After sanding a 45 degree angle in I decided it wasn’t acute enough so sanded each side to around a 60 degree angle which I was much happier with.These really take some of the effort out of throwing small pots and of most of it I can use this one tool, right up until that last pull where you just need to use more finger tips for that extra little bit of sensitivity.The rounded side produces a nice little dimple too.
What would can you do differently?
alter the angles, my first sanding pass was 45 degrees on each side but I increased the angle on bother sides to make it sharper.
produce a rib to your own shape, that fits your hand better.
change the scale of them, make big ones as well tiny ones.
use a belt sander to refine the shapes better, which means you can curve it rather than create the solid straight edges like mine.
Use a hardwood which will last longer, white oak is a good place to start.
If you make a rib, share them on social media @redfoxpottery and I will add them to the bottom of the post.