Testing 1 2 3
At the start of every project, there is a lot of testing as I enjoy that part and a new project is often a great excuse to try something new, new glazes, new clay etc. In the last post I already showed the new clays I am starting with, plus add on to those Blackpool School of Arts buff clay and crank clay, as well as my own standard clay plus my standard clay with approx 5% red iron oxide, added and some addition grog.
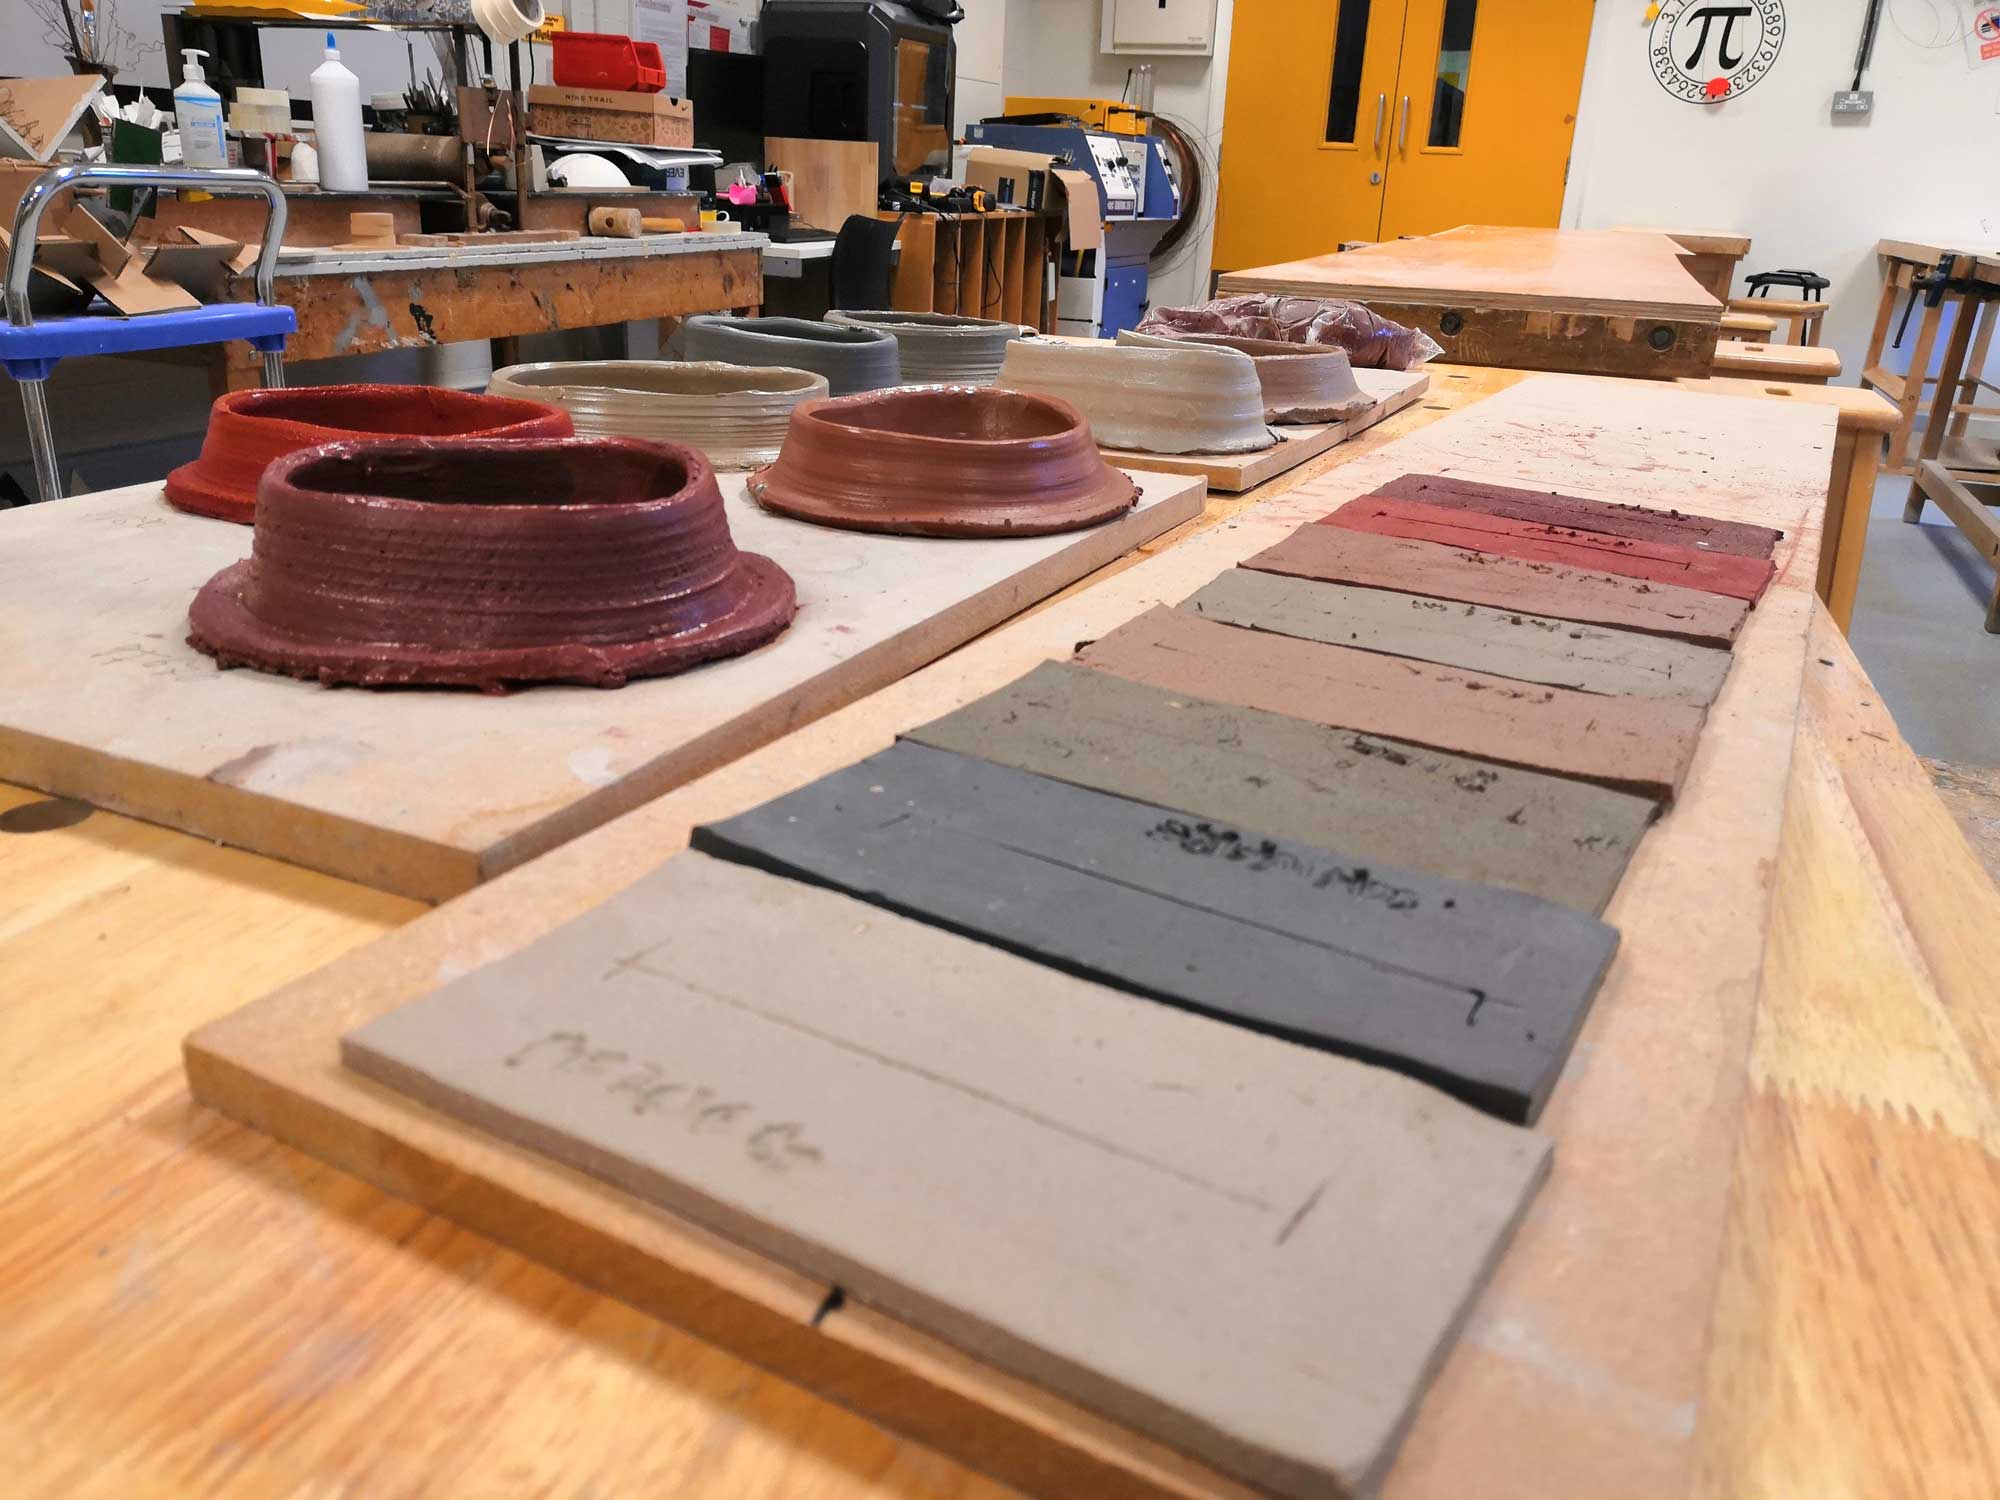
The first job was rolling out small slabs and measuring 10cm lines on each so that when the clay is high fired we will know the shrinkage rate for each clay, this will help determine what size I’ll screen print images so they will still be big enough once everything is fired.

I also threw rings of clay with a small foot on so we can test glaze samples on each clay body, each rind was divided into approximately 12 segments. They were still a bit wet when I divided them so I left plenty of finger marks.
In the 3D rooms at Blackpool, there are also materials that haven’t been used in a while so my second job was reconstituting a selection of coloured slips and casting slips. There are a few moulds left around so I did some casting
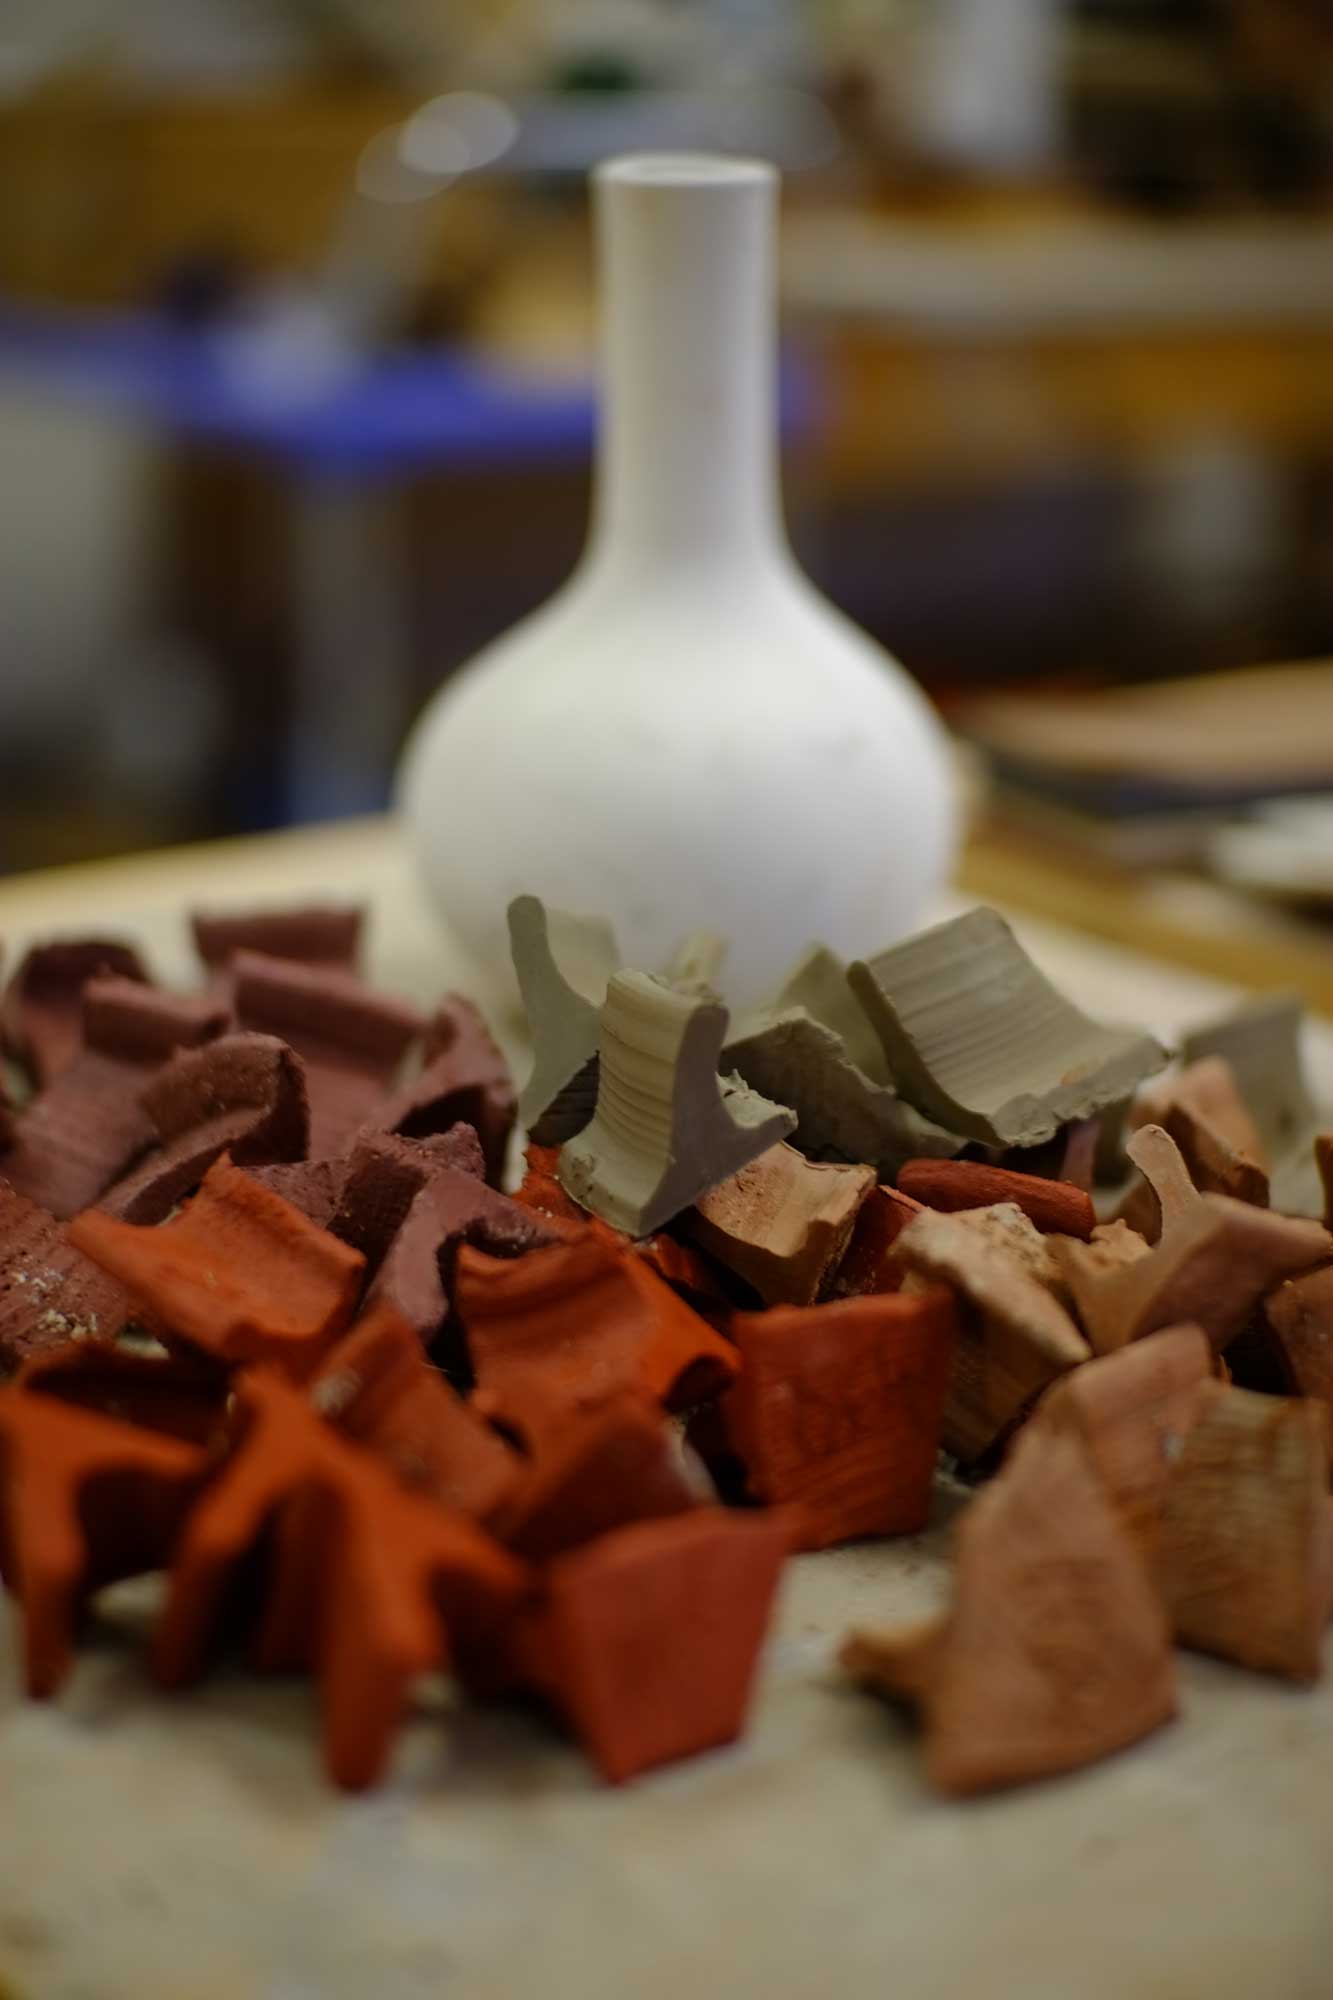
That was half a day of testing, the second half day was numbering all the clay samples so I can just make accurate tests knowing what sample is what.
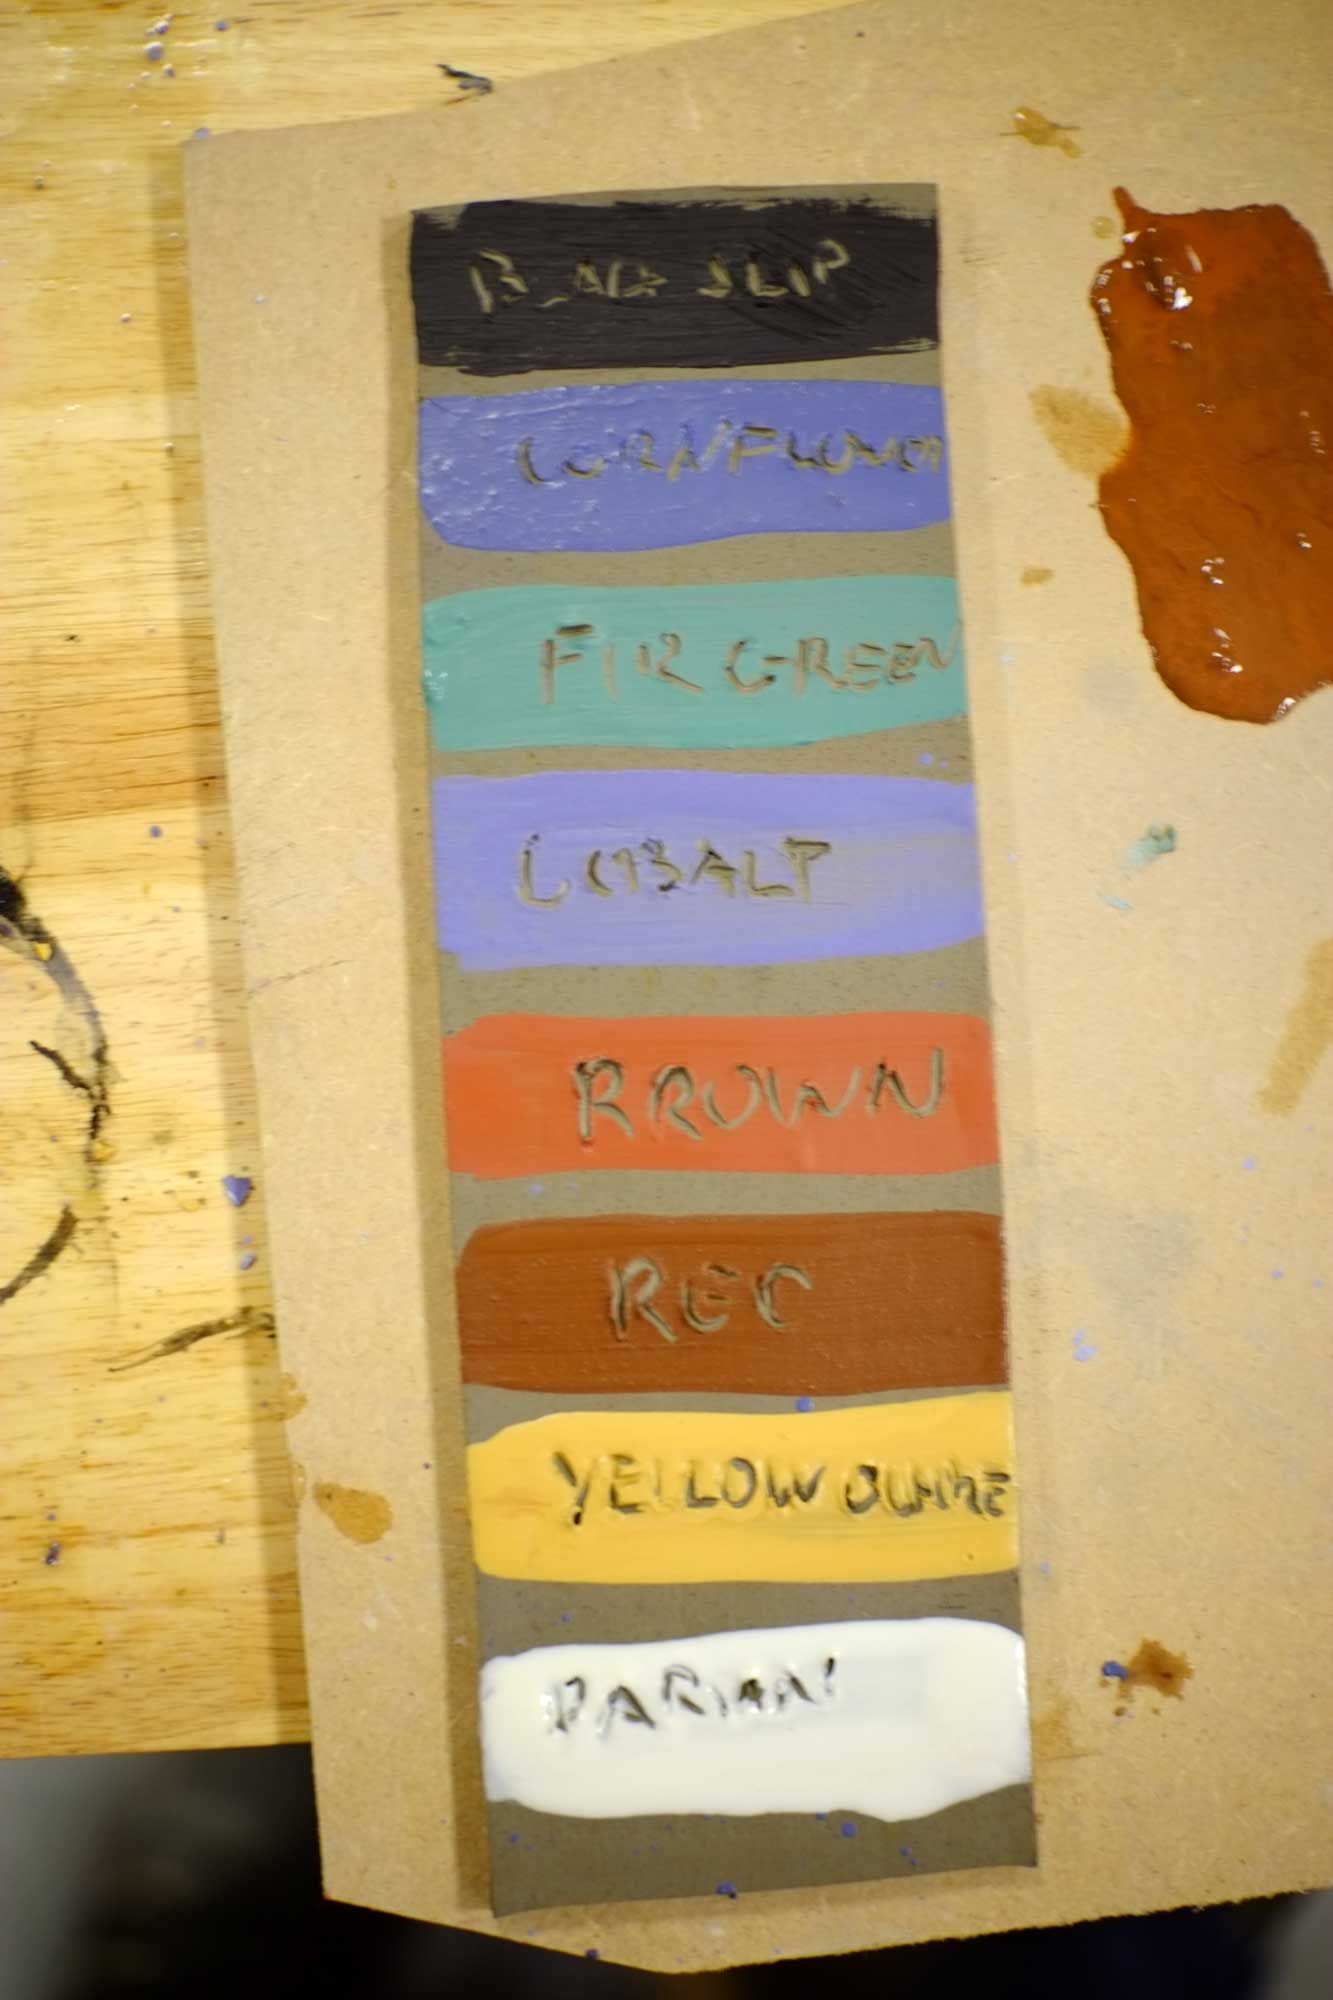
The slips I reconstituted on the previous visit were ready to be used so I rolled a buff clay slab and applied those, there is a possibility of using these through the screens, and this is one possible test I need to do.
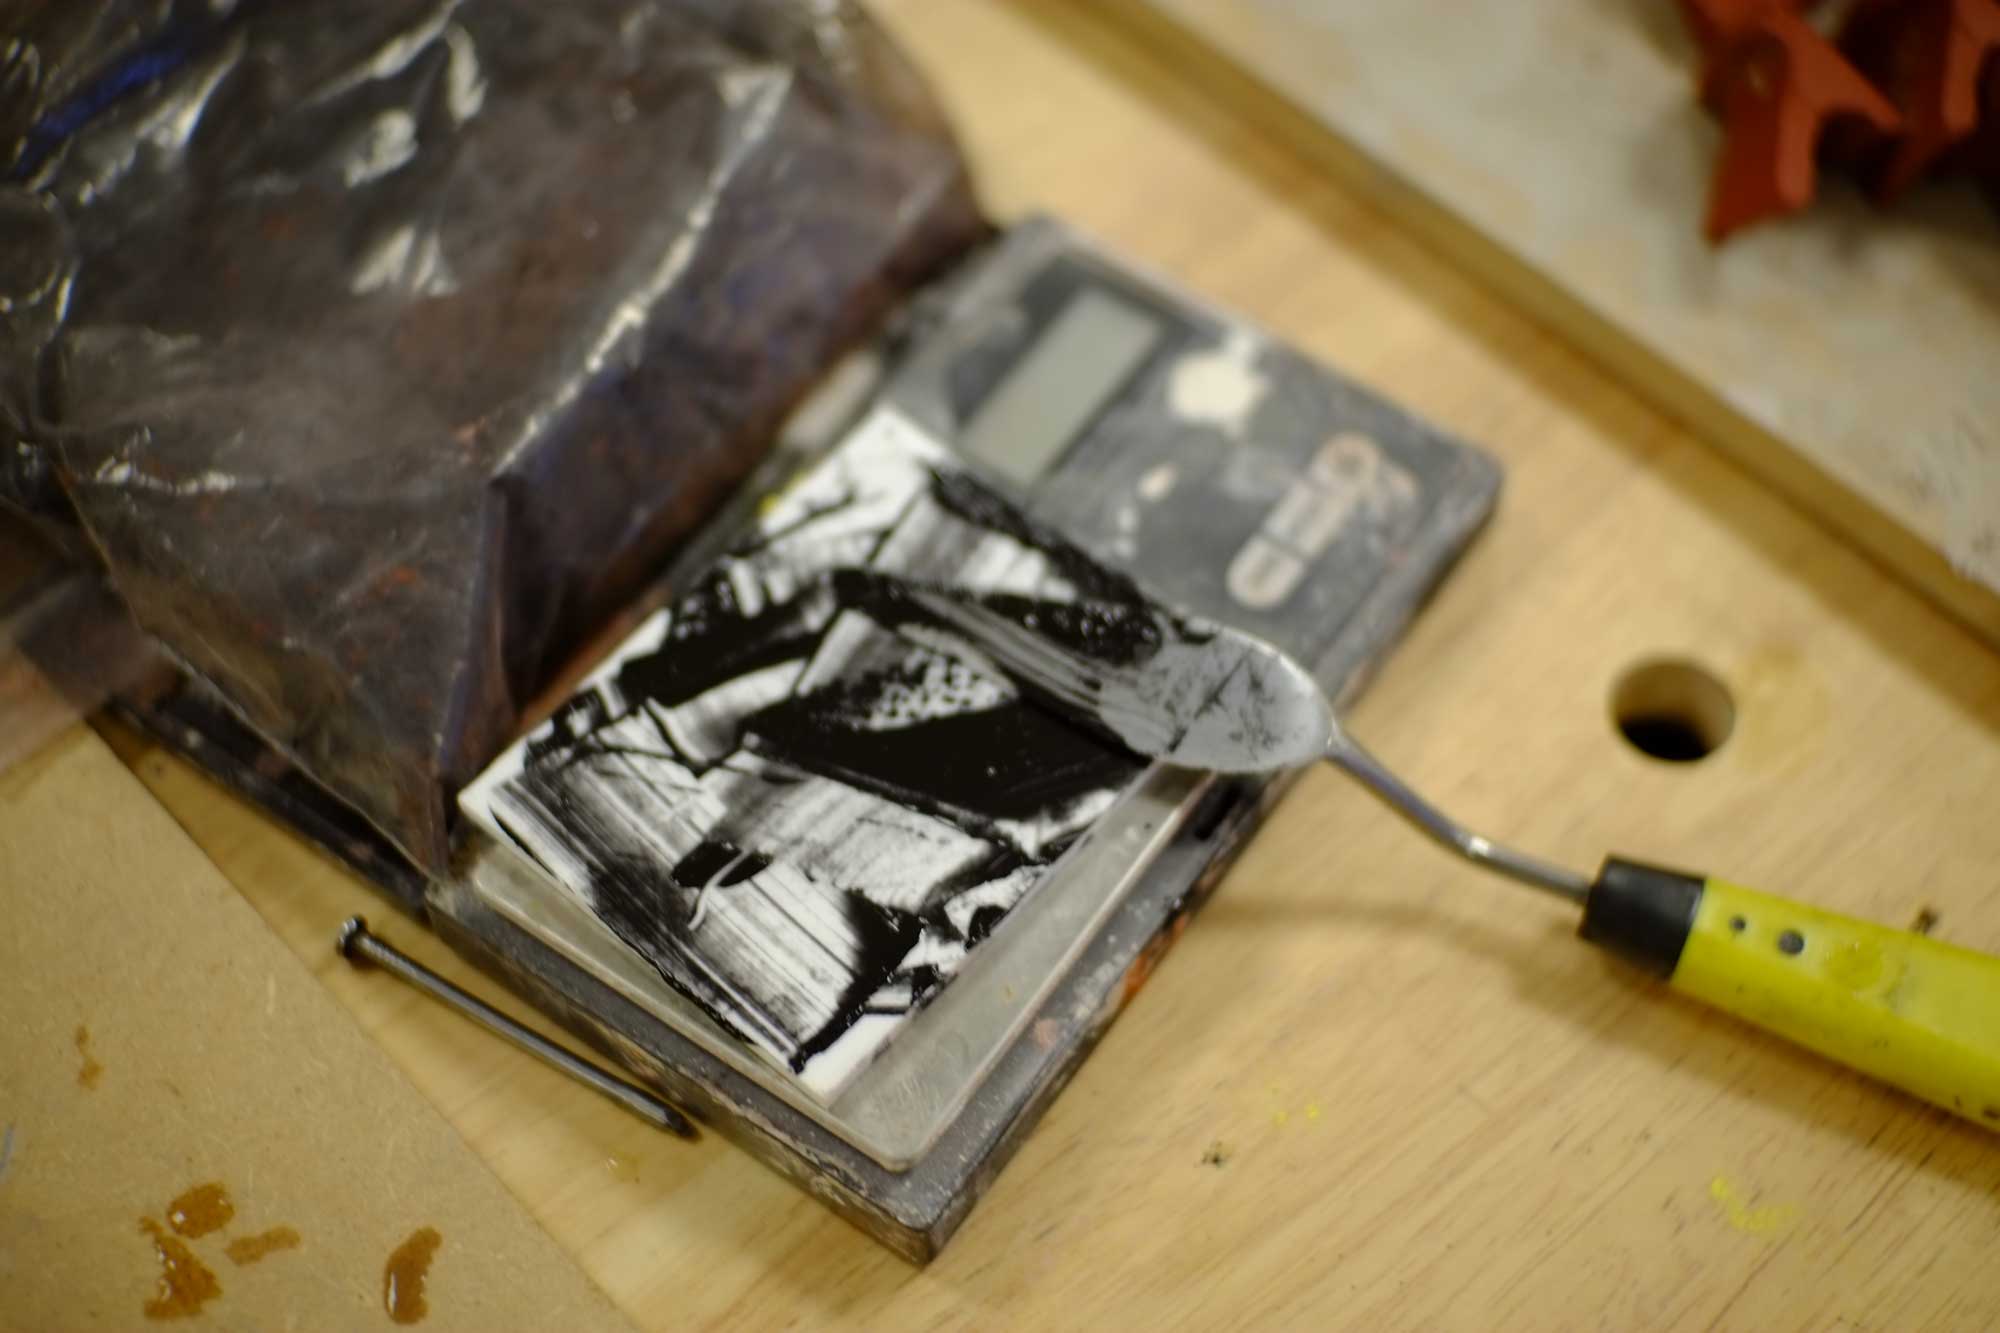
I mixed some black iron oxide for testing screen printing

Working with the technician I screen-printed the mix of black iron oxide and screen printing medium onto a slab of clay. It looks good at this stage. We will have to see once it is fired and glazed if this is sufficient.
There are some unphotographed samples where I mixed various ratios of screen printing medium to oxides and stains, I’m not sure how they will “stick” through the firing processes or whether the slip will work better, but that will take some work getting it to the right consistency.
The next stage is firing all this and testing various images on the risograph to try and work out what it is I want to produce image-wise.
Testing is vital! Well done.
It’s the key to being about to push the boundaries for me, but very much changing what I’m doing in this body of work, I will feel better about it when we start seeing some results from the kiln